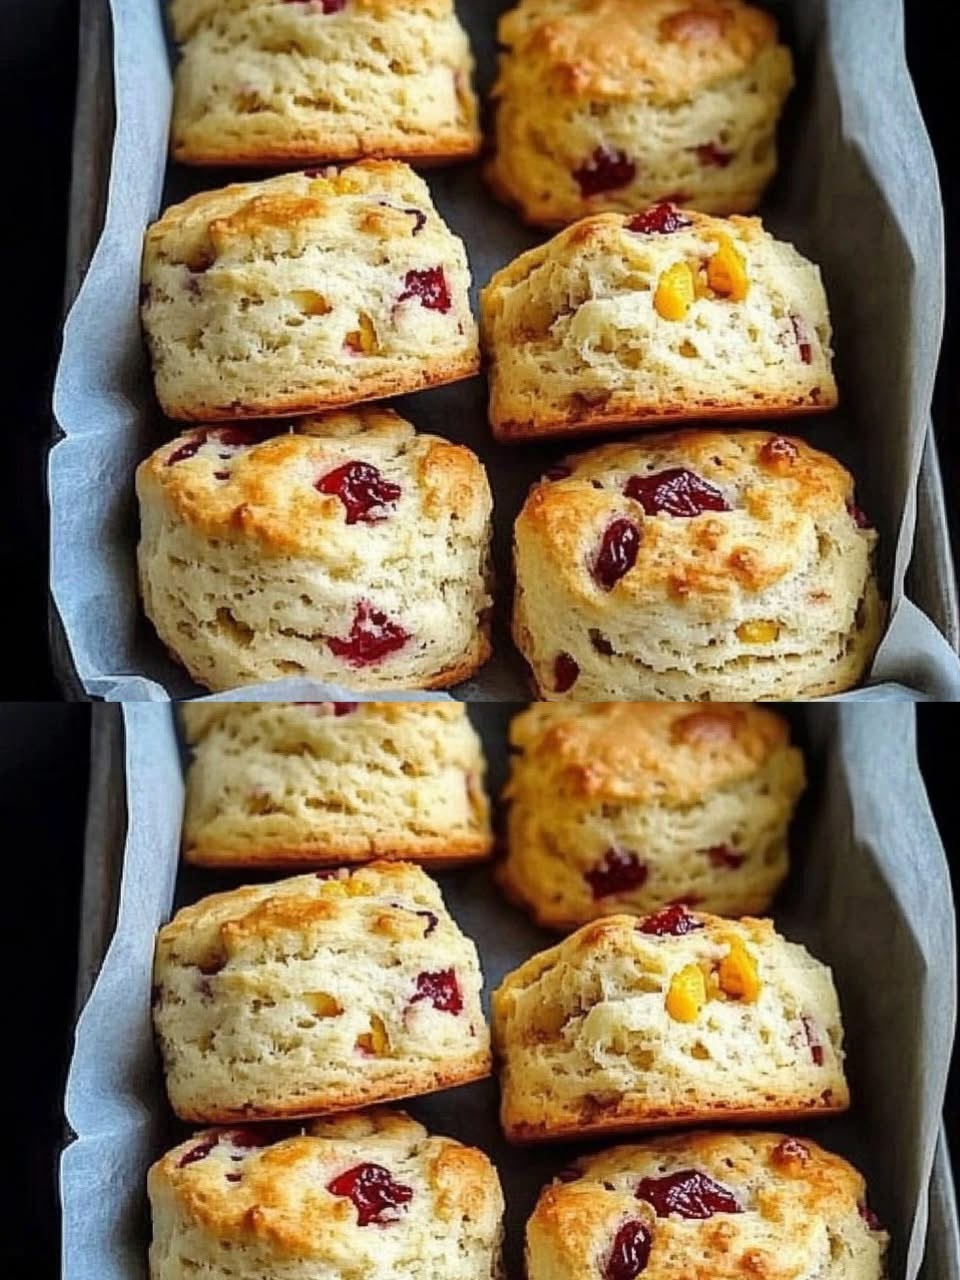
Imagine this: You’re sitting down with a warm, freshly baked scone that crumbles perfectly at the touch. The aroma of sweet orange and tart cranberries fills the air. You take a bite, savoring the rich, buttery texture and vibrant flavors, knowing this indulgence is perfectly aligned with your health goals. No sugar spike, no guilt—just pure, wholesome delight.
Welcome to the revolution in diabetic-friendly baking. These aren’t just “adapted” scones; they are masterfully engineered from the ground up to be low in carbohydrates and sugar, high in fiber and healthy fats, and utterly delicious. We’ve replaced traditional refined flour and sugar with smart, blood-sugar-friendly alternatives to create a scone that is heartily satisfying, perfectly sweet, and truly guilt-free. Whether you’re managing diabetes, watching your carbs, or simply seeking a healthier treat, this recipe delivers all the joy of a classic bakery scone without the compromise.
Why These Scones Work: The Science of Smart Swaps
Traditional scones are loaded with refined white flour and sugar, leading to rapid blood glucose spikes. Our recipe is built on four pillars of intelligent substitution:
-
Almond & Coconut Flour Base: We use super-fine almond flour and a touch of coconut flour to create a tender, moist crumb that’s naturally low-carb and high in protein and fiber. This combination dramatically reduces the net carbs and provides a longer-lasting energy release.
-
Zero-Glycemic Sweetener: Allulose or Monk Fruit Sweetener (granular, 1:1 sugar substitute) provides the perfect sweetness without affecting blood sugar levels. It also caramelizes and behaves like sugar in baking.
-
Healthy Fats for Stable Energy: Using cold butter and incorporating healthy fats from almond flour ensures a slow digestion process, preventing sharp glucose rises and promoting satiety.
-
Natural, Low-Glycemic Flavor: We use fresh orange zest and unsweetened dried cranberries (or fresh/frozen). The zest provides intense aroma without sugar, and we carefully select cranberries with no added juice or sugar.
Your Diabetic-Friendly Baking Pantry: What You’ll Need
Dry Ingredients:
-
2 cups (224g) Super-Fine Almond Flour (not almond meal, for a fine texture)
-
¼ cup (28g) Coconut Flour (this absorbs moisture and adds structure)
-
⅓ cup Granular Allulose or Monk Fruit Sweetener (1:1 sugar replacement)
-
1 tbsp Baking Powder (ensure it’s fresh for a good rise)
-
¼ tsp Salt
-
Zest of 1 large Orange
Wet & Fatty Ingredients:
-
⅓ cup (75g) Unsalted Butter, VERY COLD and cut into small cubes
-
2 large Eggs, cold
-
⅓ cup Heavy Cream or Unsweetened Almond Milk, cold
-
1 tsp Pure Vanilla Extract
Mix-Ins & Finish:
-
½ cup Unsweetened Dried Cranberries (chopped) or ¾ cup fresh/frozen
-
Optional Glaze: 2 tbsp Powdered Erythritol (confectioners style) + 1-2 tsp fresh orange juice
The Foolproof, Step-by-Step Method: Keeping It Cold & Tender
Step 1: The Cold Prep (Crucial!)
-
Preheat your oven to 350°F (175°C). Line a baking sheet with parchment paper.
-
Ensure your butter, eggs, and cream are all straight from the fridge. Place your mixing bowl in the freezer for 5 minutes. Cold ingredients are the secret to a flaky, tender scone.
Step 2: Combine Dry Ingredients
-
In your chilled large bowl, whisk together the almond flour, coconut flour, sweetener, baking powder, salt, and orange zest. Break up any clumps.
Step 3: Cut in the Butter
-
Add the cold, cubed butter to the flour mixture.
-
Using a pastry cutter, two forks, or your fingertips, quickly work the butter into the flour until the mixture resembles coarse crumbs with pea-sized butter pieces. Do not overwork or let the butter melt.
Step 4: Incorporate Wet Ingredients
-
In a small bowl, whisk the cold eggs, cold cream, and vanilla.
-
Create a well in the center of the flour-butter mixture. Pour the wet ingredients in.
-
Use a silicone spatula to gently fold until a shaggy dough just begins to form.
-
Fold in the unsweetened cranberries.
Step 5: Shape & Cut (Handle Gently!)
-
Turn the dough out onto the prepared baking sheet. Gently pat it into a 1-inch thick circle (about 7 inches in diameter). Do not knead.
-
Using a sharp, floured knife, cut the circle into 8 even wedges.
-
Optional for crisp edges: Carefully separate the wedges, spacing them about 1 inch apart on the sheet.
-
Brush the tops lightly with a little extra cream for browning.
Step 6: Bake to Perfection
-
Bake for 18-22 minutes, or until the tops are firm and golden brown, and a toothpick inserted into the center comes out clean.
-
Let the scones cool on the baking sheet for 10 minutes before transferring to a wire rack.
Step 7: Optional Sugar-Free Glaze
-
If desired, whisk powdered erythritol with enough orange juice to create a thick, drizzle-able glaze. Drizzle over completely cooled scones.
Pro Baker’s Tips for Guaranteed Success
-
Flour Power: Do not substitute the flours 1:1. This specific blend is engineered for structure. Coconut flour is highly absorbent and cannot be used alone.
-
Sweetener Notes: Allulose browns and tastes most like sugar. Monk fruit/erythritol blends can have a slight cooling aftertaste for some. Choose your preferred brand.
-
Don’t Overmix: Overworking the dough develops the proteins in the almond flour, leading to dense, tough scones. Mix until just combined.
-
Fresh vs. Frozen Cranberries: If using frozen, do not thaw—toss them in frozen to prevent bleeding and adding excess moisture.
Nutritional Highlights & Serving Info
-
Blood Sugar Friendly: Each scone contains approximately 6-8g of Net Carbs (compared to 30g+ in a traditional scone), thanks to high fiber content.
-
High in Healthy Fats & Protein: Provides sustained energy without the crash.
-
Serving Suggestion: Enjoy warm with a smear of sugar-free whipped cream cheese or a pat of good butter alongside a cup of herbal tea or black coffee.
-
Storage: Keep in an airtight container at room temp for 2 days, in the fridge for 5 days, or freeze for up to 3 months. Reheat gently in a toaster oven or air fryer.
Conclusion: Reclaim the Joy of Baking & Eating
Managing your health should never mean sacrificing flavor or the simple pleasure of a homemade treat. These scones are proof that with smart ingredients and careful technique, you can have it all: incredible taste, delightful texture, and unwavering commitment to your well-being.
So, preheat your oven and zest that orange. You’re about to bake more than a scone—you’re baking confidence, joy, and delicious proof that a diabetic-friendly lifestyle is full of wonderful possibilities.
We’d love to hear from you! What’s your favorite diabetic-friendly flavor combination? Did this recipe help you feel more confident in the kitchen? Share your experience and tips in the comments below—let’s build a community of healthy, happy bakers!